There’s something magical about biting into a warm, freshly baked chocolate chip cookie—especially one inspired by Disney! In this article, we’ll take you through every step of recreating the iconic Disney chocolate chip cookie recipe using metric measurements for precision and consistency. From gathering ingredients to mastering the baking process, you’ll learn tips, tricks, and creative variations to bring a taste of Disney into your kitchen.
Let’s embark on this delicious baking adventure!
Introduction to Disney’s Chocolate Chip Cookies
The Allure of Disney’s Famous Cookies
Disney is known for creating magical moments; their scrumptious chocolate chip cookies are no exception. These cookies have become a favorite, delighting park-goers and baking enthusiasts alike. Whether you’ve enjoyed them at a Disney resort or have always wanted to recreate the experience at home, this recipe brings that same magic into your oven.
But what sets these cookies apart? It’s their perfect balance of crispy edges and chewy centers. Each bite offers the nostalgia of childhood and the indulgence of the finest ingredients. And now, with metric measurements, achieving consistent, bakery-quality results has never been easier!
Why Metric Measurements Matter for Precision Baking
Baking is as much a science as it is an art. Using metric measurements—like grams and milliliters—provides unparalleled accuracy. No more guessing whether your “cup” of flour is packed too tightly or your “tablespoon” of sugar is heaping.
With metric tools, you can replicate Disney’s recipe with precision, ensuring that every batch tastes exactly as it should. Plus, it makes it easier to scale recipes up or down for larger gatherings or smaller indulgences.
Ready to get started? Gather your ingredients, prep your tools, and prepare for an irresistible baking experience
Gathering Your Ingredients
Comprehensive List of Ingredients in Metric Units
To recreate the authentic Disney chocolate chip cookie recipe with metric measurements, gather the following ingredients:
- 215 grams of all-purpose flour
- 3.5 grams of baking soda (approximately 1 teaspoon)
- 3 grams salt (about 1/2 teaspoon)
- 230 grams of unsalted butter, softened to room temperature
- 150 grams of granulated sugar
- 165 grams packed brown sugar
- 2 large eggs
- 10 milliliters of vanilla extract (roughly 2 teaspoons)
- 340 grams semisweet chocolate chips
Note: Using precise metric measurements ensures consistency and helps achieve the desired texture and flavor in your cookies.
Selecting Quality Ingredients for Authentic Flavor
The magic of Disney’s chocolate chip cookies lies in the quality of the ingredients. Here’s what to consider:
- Flour: Opt for unbleached all-purpose flour to provide a sturdy structure while maintaining tenderness.
- Butter: Choose high-quality unsalted butter. Its fat content significantly influences the cookie’s flavor and texture.
- Sugars: A combination of granulated and brown sugar is essential. The granulated sugar adds sweetness and helps the cookies spread, while the brown sugar contributes to a chewy texture and rich flavor.
- Eggs: Use fresh, large eggs at room temperature to ensure they incorporate smoothly into the batter, promoting even baking.
- Vanilla Extract: Pure vanilla extract enhances the overall flavor profile. Avoid imitation vanilla for the best results.
- Chocolate Chips: High-quality semisweet chocolate chips or chunks melt beautifully, providing delightful pockets of chocolate in every bite.
By selecting premium ingredients and measuring them accurately, you’re setting the foundation for cookies that capture the essence of Disney’s beloved treats.
Step-by-Step Baking Instructions
Preparing Your Kitchen and Tools
Before diving into the baking process, ensure your kitchen is ready:
- Preheat the Oven: Set your oven to 180°C (350°F) to reach the correct temperature before baking.
- Prepare Baking Sheets: Line two baking sheets with parchment paper or silicone baking mats to prevent sticking and promote even baking.
- Gather Equipment: for a smooth baking experience, have mixing bowls, a hand or stand mixer, measuring spoons, a kitchen scale, and a spatula on hand.
Mixing the Dough: Techniques for Perfect Consistency
Achieving the ideal dough consistency is crucial:
- Combine Dry Ingredients: In a bowl, whisk together the flour, baking soda, and salt. Set aside.
- Cream Butter and Sugars: In a separate bowl, beat the softened butter, granulated sugar, and brown sugar until light and fluffy. This process incorporates air, contributing to the cookie’s texture.
- Add Eggs and Vanilla: Beat the eggs one at a time, ensuring each is fully incorporated before adding the next. Mix in the vanilla extract.
- Incorporate Dry Ingredients: Gradually add the flour mixture to the wet ingredients, mixing quickly until just combined. Overmixing can lead to tough cookies.
- Fold in Chocolate Chips: Using a spatula, gently fold the semisweet chocolate chips, distributing them evenly throughout the dough.
Shaping and Portioning the Cookies
Proper portioning ensures uniform cookies:
- Scoop the Dough: Use a cookie scoop or tablespoon to portion out equal amounts of dough, about 2 tablespoons (30 grams) each.
- Form Dough Balls: Roll each portion into a ball between your palms for even shaping.
- Arrange on Baking Sheet: Place the dough balls onto the prepared baking sheets, spacing them about 5 centimeters apart to allow for spreading.
Baking Time and Temperature Guidelines
Follow these steps for perfectly baked cookies:
- Bake: Place the baking sheets in the oven and bake for 10-12 minutes, or until the edges are golden brown, and the centers appear slightly undercooked.
- Rotate Sheets: Halfway through baking, rotate the baking sheets to ensure even heat distribution.
- Cool on Baking Sheet: Remove the cookies from the oven and allow them to cool on the baking sheet for 5 minutes. This helps them set and finish baking from residual heat.
- Transfer to Wire Rack: After 5 minutes, transfer the cookies to a wire rack to cool completely.
By meticulously following these steps, you’ll produce cookies that boast crispy edges, chewy centers, and a flavor reminiscent of Disney’s delightful confections.
Tips for Achieving the Perfect Disney Chocolate Chip Cookie
Ensuring Consistent Results with Metric Measurements
Precision is key when recreating the authentic Disney chocolate chip cookie recipe. Using metric measurements ensures consistency in every batch. Here’s how to achieve perfection:
- Use a Kitchen Scale: Weighing ingredients provides accuracy. For instance, 215 grams of flour is more precise than measuring cups, reducing variability.
- Measure Liquids Correctly: Utilize metric measuring tools for liquids to ensure exact amounts, like 10 milliliters of vanilla extract.
- Monitor Oven Temperature: An oven thermometer can verify that 180°C is accurate, preventing under or over-baking.
Common Mistakes to Avoid
Even with a precise recipe, pitfalls can occur. Steer clear of these common errors:
- Overmixing the Dough: Mixing too much can develop excess gluten, leading to tough cookies. Combine ingredients until just incorporated.
- Incorrect Butter Consistency: Ensure butter is softened, not melted. Overly soft or melted butter can cause cookies to spread too much.
- Ignoring Ingredient Temperatures: Ingredients like eggs should be at room temperature to blend seamlessly, promoting even baking.
- Skipping the Cooling Step: Allowing cookies to cool on the baking sheet for 5 minutes before transferring prevents them from breaking and ensures proper texture.
By adhering to these tips and maintaining precision with metric measurements, you’ll consistently bake cookies that capture the magic of Disney’s original recipe.
For more delicious recipes, check out our Ultimate Guide to Baking Perfect Cookies.
Creative Variations and Additions
Adding a Personal Touch to the Classic Recipe
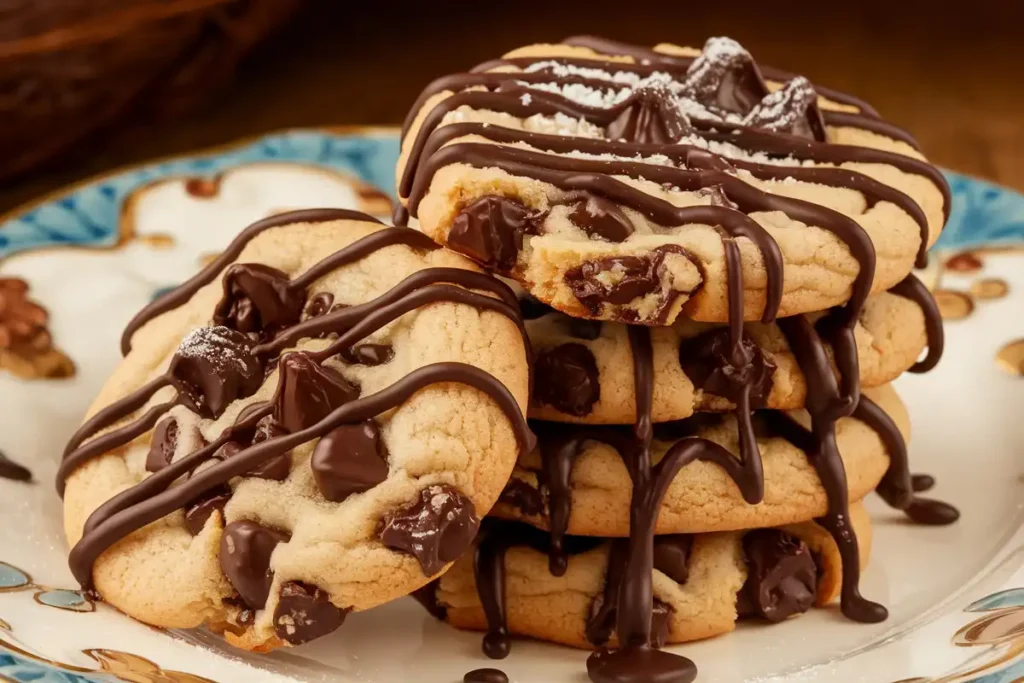
While the traditional Disney chocolate chip cookie is delightful, adding your twist can make them uniquely yours. Consider these variations:
- Different Chocolate Types: Substitute semisweet chips with dark, milk, or white chocolate to alter the flavor profile.
- Nuts for Crunch: Incorporate chopped walnuts or pecans for added texture and a nutty taste.
- Dried Fruits: Mix in dried cranberries or cherries to introduce a sweet and tangy element.
- Spices: A pinch of cinnamon or espresso powder can enhance the cookie’s depth of flavor.
Dietary Modifications: Gluten-Free and Vegan Options
Accommodate dietary preferences without sacrificing taste:
- Gluten-Free: Replace all-purpose flour with a gluten-free flour blend. Ensure other ingredients, like baking soda and chocolate chips, are certified gluten-free.
- Vegan: Substitute butter with plant-based margarine and eggs with flax eggs (1 tablespoon ground flaxseed mixed with 3 tablespoons water per egg). Use dairy-free chocolate chips to complete the transformation.
By exploring these creative variations and modifications, you can tailor the Disney chocolate chip cookie recipe to suit different tastes and dietary needs, all while maintaining the delicious essence of the original.
Storing and Serving Your Disney-Inspired Cookies
Keeping Your Cookies Fresh
Proper storage ensures that your Disney chocolate chip cookie recipe (metric measurements) masterpiece stays fresh and delicious. Follow these tips to maintain their irresistible texture:
- Use Airtight Containers: Once the cookies are completely cool, store them in an airtight container to prevent them from drying out. Layer cookies with parchment paper to avoid sticking.
- Room Temperature Storage: Keep your cookies at room temperature for up to 5 days. Ensure the storage area is cool and dry to maintain optimal freshness.
- Freezing for Longevity: For longer storage, place cookies in a freezer-safe container or resealable bag. They can be frozen for up to 3 months. When ready to enjoy, thaw at room temperature for a few hours.
Creative Serving Ideas
Take your cookie experience to the next level with these fun serving suggestions:
- Classic Milk Pairing: There’s nothing better than pairing warm cookies with a cold glass of milk. It’s a timeless combination.
- Ice Cream Sandwiches: Transform your cookies into decadent ice cream sandwiches. Place a scoop of your favorite ice cream between two cookies and press gently.
- Elegant Dessert Plate: Arrange cookies on a platter alongside fruits, whipped cream, or chocolate sauce for an impressive dessert spread.
By storing and serving your cookies thoughtfully, you can savor the magic of Disney-inspired treats for days to come.
Frequently Asked Questions About the Recipe
Can I Use Regular Measurements Instead of Metric?
Yes, but metric measurements provide better accuracy, leading to consistent results. If you must convert, use a reliable conversion tool for precise equivalents.
Why Do My Cookies Spread Too Much?
Cookies may spread due to overly soft or melted butter. Ensure your butter is at the right consistency—softened but not liquid. Additionally, chilling the dough for 30 minutes before baking can help reduce spreading.
Can I Make the Dough Ahead of Time?
Absolutely! Prepare the dough and store it in the refrigerator for up to 72 hours. Chilling enhances flavor and helps the dough hold its shape during baking.
Are These Cookies Suitable for Allergies?
The Disney chocolate chip cookie recipe metric measurements can be adapted for allergies. Use gluten-free flour or vegan substitutes, as outlined in Part 5, to meet dietary needs.
These FAQs address common concerns, ensuring you have all the tips and tricks needed to bake perfect cookies every time!
Why Metric Measurements Matter in Baking (350 words)
The Science Behind Metric Precision
When it comes to baking, precision is everything. Using metric measurements in the Disney chocolate chip cookie recipe ensures accuracy and consistency, which are crucial for achieving the desired texture and flavor. Here’s why:
- Exact Ratios: Baking is a science, and small changes in ingredient quantities can have a big impact. For example, 215 grams of flour is more accurate than 1¾ cups, reducing the risk of too much or too little flour.
- Consistency Across Batches: Metric measurements eliminate the variability caused by different cup and spoon sizes. This consistency guarantees that each batch of cookies will have the same perfect balance of ingredients.
- Easier Scaling: Whether you’re halving or doubling the recipe, metric units make calculations straightforward, ensuring precise proportions every time.
Common Pitfalls with Non-Metric Measurements
Relying on volume measurements can lead to common baking issues:
- Flour Packing: Scooping flour with a measuring cup can result in packing, leading to denser cookies. Weighing flour ensures accuracy.
- Liquid Misjudgment: Measuring liquids by volume can lead to over or underestimating quantities, especially for small amounts like vanilla extract or milk.
By embracing the metric system, you’ll enjoy foolproof results and elevate your baking to professional levels. This attention to detail is essential for replicating the authentic Disney chocolate chip cookie recipe metric measurements.
Final Thoughts and Encouragement
Embracing the Magic of Baking
Recreating the Disney chocolate chip cookie recipe is more than just baking; it’s about bringing a little piece of Disney magic into your home. From using precise metric measurements to experimenting with creative variations, this recipe offers endless opportunities to spread joy.
Share the Magic with Others
Baking these cookies isn’t just for personal enjoyment—it’s also a wonderful way to connect with others. Here are some ideas:
- Gift Giving: Package these cookies in decorative tins or bags for a thoughtful homemade gift.
- Family Activity: Involve your kids or loved ones in the baking process to create lasting memories.
- Cookie Swaps: Participate in a cookie exchange to showcase your Disney-inspired creation.
The magic of Disney is all about joy and togetherness, and these cookies perfectly embody that spirit. Whether you follow the recipe to the letter or add your twist, you’re sure to create something special.
With this guide, you now have everything you need to master the Disney chocolate chip cookie recipe metric measurements. So, preheat that oven, gather your ingredients, and let the baking magic begin!
Conclusion
Baking the Disney chocolate chip cookie recipe metric measurements is more than just a culinary task—it’s an opportunity to bring a little Disney magic into your kitchen. With precise measurements, careful preparation, and thoughtful tips, you can recreate these iconic cookies to perfection.
Whether you stick to the classic recipe or explore creative variations, each cookie holds the power to delight and inspire. Share them with family, gift them to friends, or enjoy them fresh out of the oven—they’re guaranteed to bring smiles all around.
Remember, baking is as much about the journey as the destination. Embrace the process, have fun experimenting, and let the joy of Disney guide you. Happy baking!
This unadulterated Disney Chocolate Chip Cookie Recipe Metric Measurements such a gem, and if you have attempted it, it would be highly appreciated if you could drop a comment with stars to let me know how it turned out for you! It gives me joy to hear from you – it encourages me to come up with more and more recipes for you guys😊 Ready, steady, cook! – Emily

Disney Chocolate Chip Cookie Recipe Metric Measurements: Bake the Magic at Home
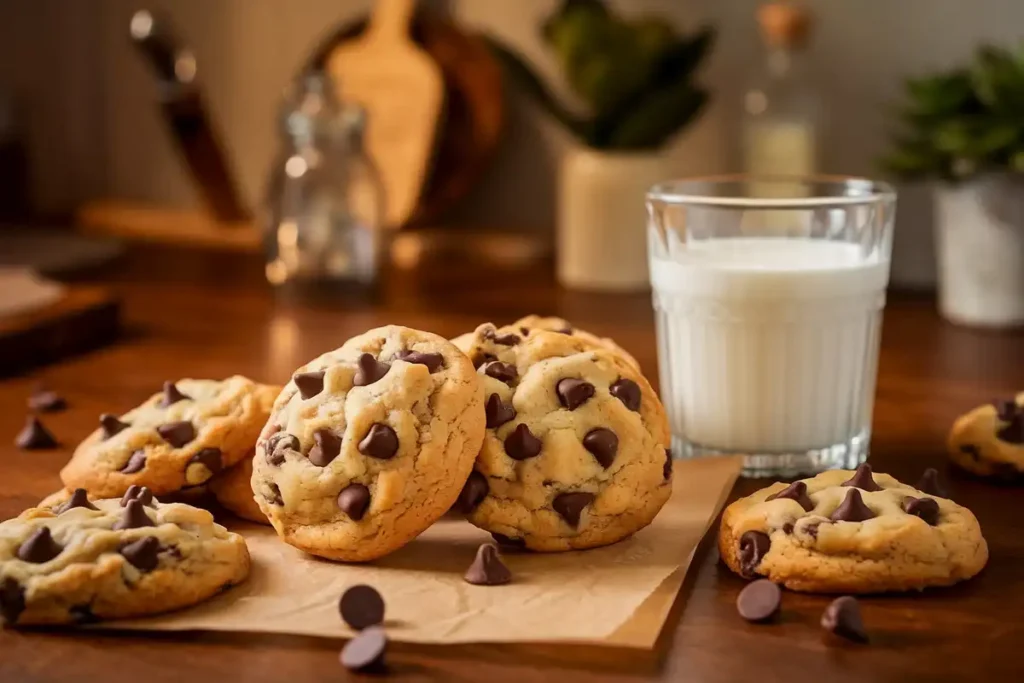
This Disney chocolate chip cookie recipe is the ultimate sweet treat, inspired by the magic of Disney parks. Perfectly soft and chewy with a golden-brown edge, these cookies are loaded with chocolate chips and made with precise metric measurements for consistent and delicious results every time. Whether you’re baking for family or looking to add some Disney magic to your kitchen, this recipe is sure to impress!
- Total Time: 25-27 minutes
- Yield: 12–15 cookies (depending on size) 1x
Ingredients
- 225g all-purpose flour
- 115g unsalted butter, softened
- 100g granulated sugar
- 100g packed brown sugar
- 1 large egg
- 5ml vanilla extract
- 1/2 teaspoon baking soda (2.5g)
- 1/2 teaspoon salt (2.5g)
- 200g semi-sweet chocolate chips
- Optional: 50g chopped nuts (such as walnuts or pecans)
Instructions
- Preheat Oven: Preheat your oven to 180°C (350°F). Line two baking sheets with parchment paper for easy cleanup.
- Prepare Wet Ingredients: In a medium bowl, cream together the softened butter, granulated sugar, and brown sugar until smooth and fluffy. Add in the egg and vanilla extract, beating until well incorporated.
- Combine Dry Ingredients: In another bowl, whisk together the flour, baking soda, and salt until evenly mixed.
- Mix the Dough: Gradually add the dry ingredients to the wet ingredients, stirring until combined. Be careful not to overmix the dough.
- Add Chocolate Chips: Stir in the chocolate chips (and nuts, if desired) until evenly distributed throughout the dough.
- Scoop Dough: Using a spoon or cookie scoop, drop rounded tablespoons of dough onto the prepared baking sheets, spacing them about 5cm apart.
- Bake: Bake the cookies in the preheated oven for 10-12 minutes, or until the edges are golden brown but the centers are still soft. Keep a close eye on them to prevent overbaking.
- Cool: Let the cookies cool on the baking sheets for a few minutes before transferring them to a wire rack to cool completely.
Notes
- Storage: Store cooled cookies in an airtight container at room temperature for up to 5 days. For longer storage, freeze the cookies in a sealed container for up to 3 months.
- Chill the Dough: If you have time, chill the cookie dough for 30 minutes before baking. This can help prevent the cookies from spreading too much during baking.
- Vegan/Dairy-Free Option: Use dairy-free butter and chocolate chips to make this recipe vegan-friendly.
- Add-ins: Feel free to add chopped nuts, dried fruit, or other mix-ins to customize the cookies to your taste.
- Prep Time: 15 minutes
- Cook Time: 10-12 minutes
- Category: Dessert
Nutrition
- Serving Size: 1 cookie
- Calories: 200 kcal
- Sugar: 18g
- Sodium: 75mg
- Fat: 9g
- Saturated Fat: 5g
- Unsaturated Fat: 3g
- Carbohydrates: 28g
- Fiber: 1g
- Protein: 2g
- Cholesterol: 20mg
Keywords: Disney chocolate chip cookie recipe, metric measurements, Disney cookies, chocolate chip cookies, baking cookies, homemade cookies, baking with kids, easy cookie recipe, soft cookies, chewy cookies.
You’ll also like
- Banana Bread Recipe with 2 Bananas
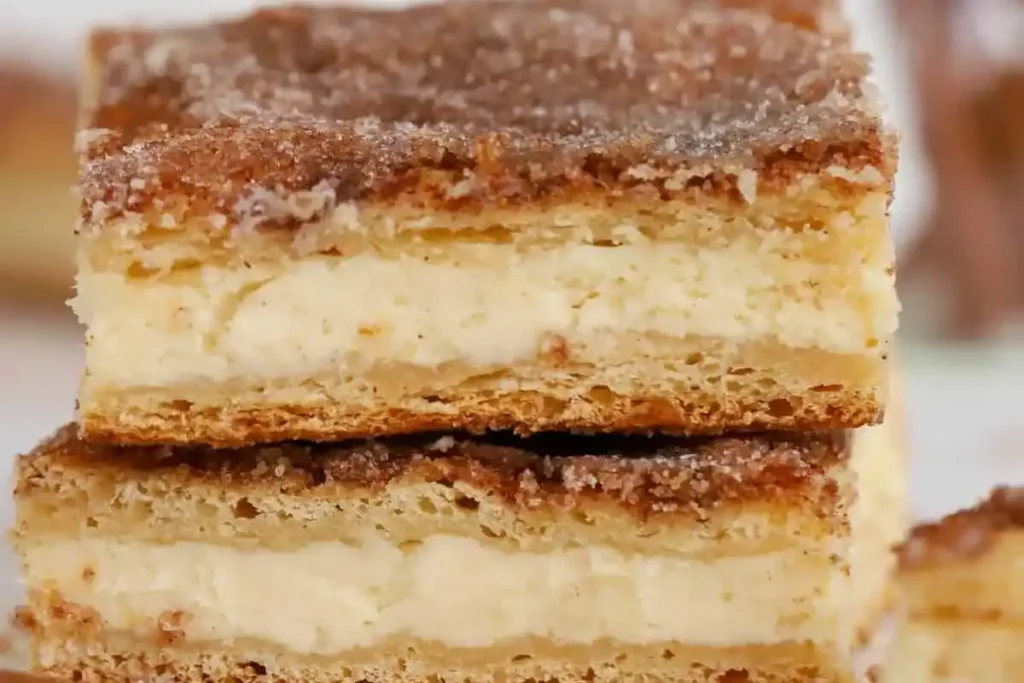
- Delicious Churro Cheesecake Bars Recipe – Easy Dessert Delight!
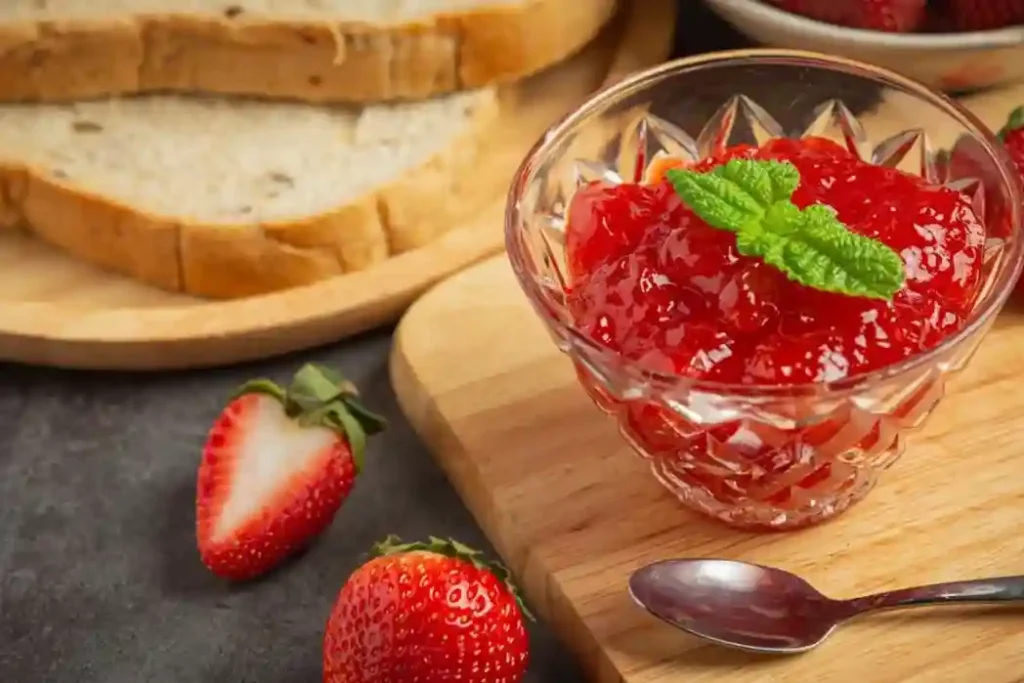
- Sure Jell Recipes: How to Make Perfect Jams & Jellies
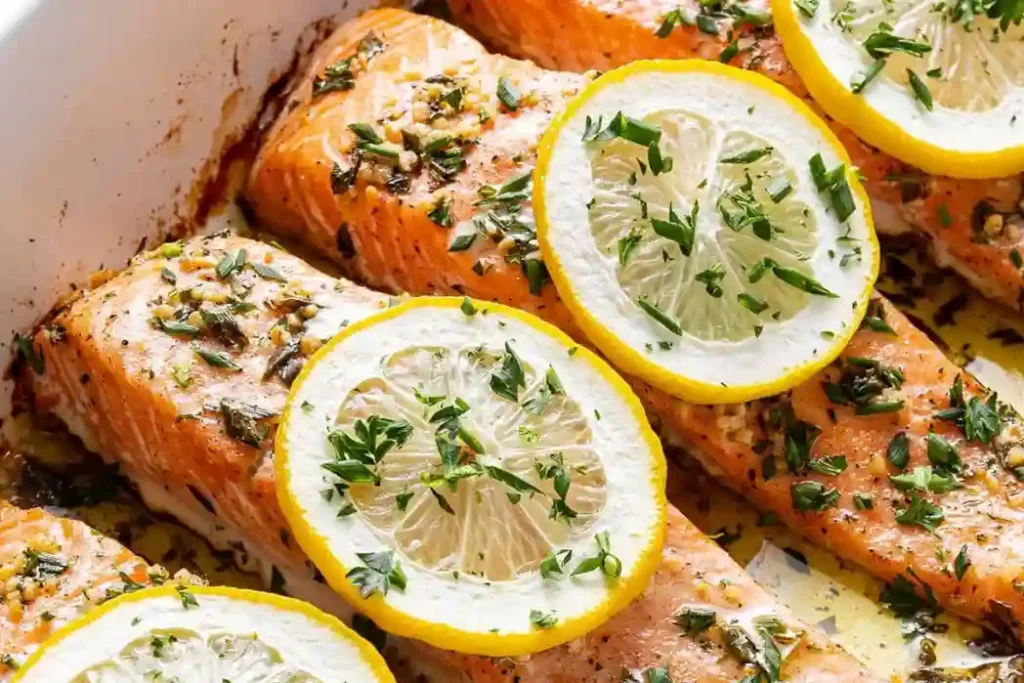
- Delicious Steelhead Trout Recipe: A Flavorful Guide
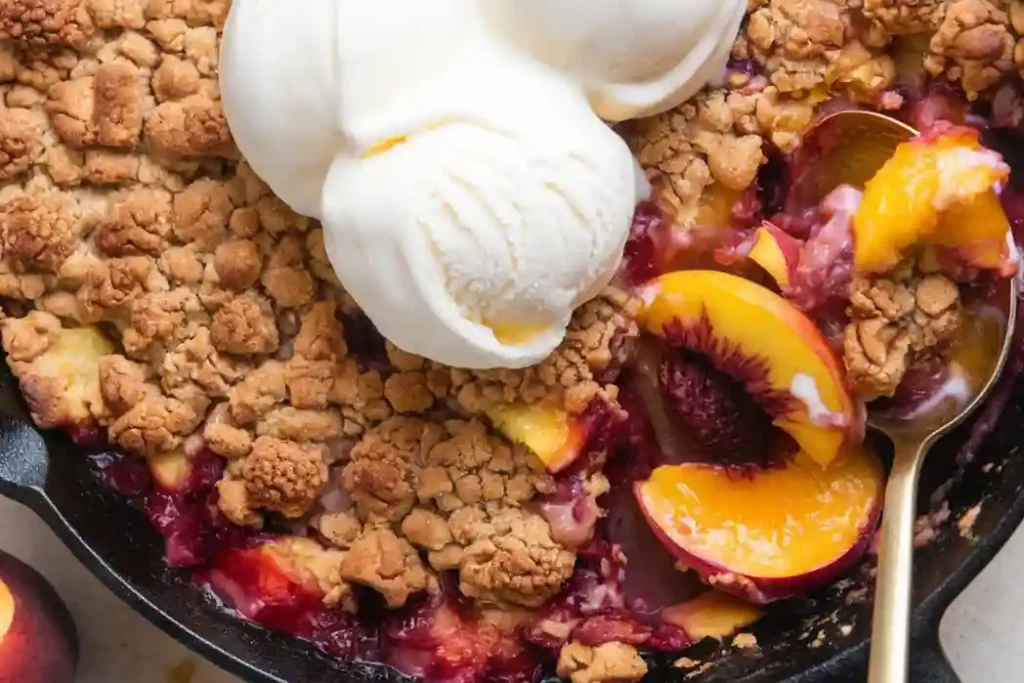
- Ultimate Peach Crumble Recipe: Sweet & Crunchy Delight
- Easy Step-by-Step Brioche Loaf Recipe for Perfect Breakfast Bread